
A 1990s bathroom can be surprisingly easy to work with. Beige tile, honey-oak cabinets, framed mirrors and brass fixtures may feel dated together, but many of those materials can serve as a useful foundation. The trick is to decide what is worth keeping before buying anything new.
Start with a keep, repair or replace audit
Look at the condition of the shower surround, flooring, vanity and ventilation. Sound tile and a functional vanity can often stay while the room gets a visual refresh. Cracked tile, persistent moisture damage, leaks or unsafe electrical fittings need appropriate professional attention before cosmetic work.
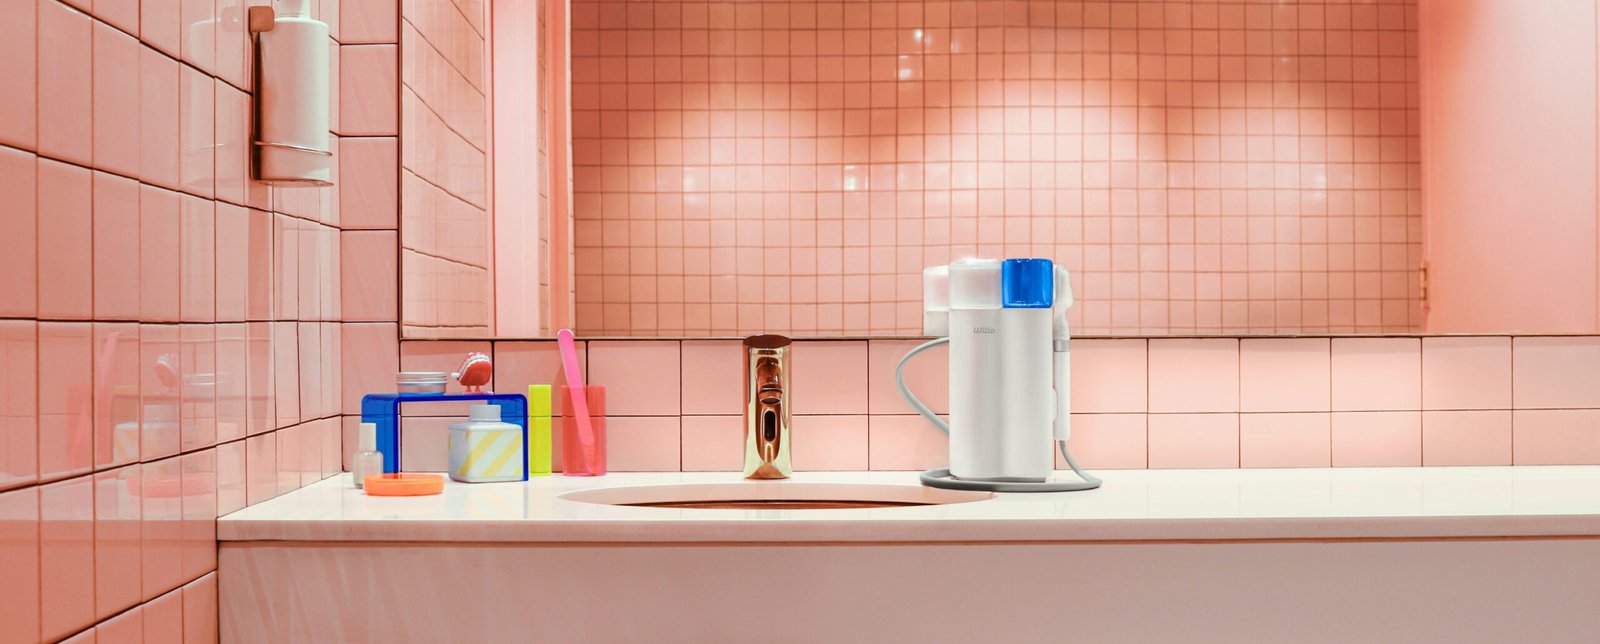
1. Choose one updated color direction
Warm white, mushroom, muted sage and soft clay can complement beige tile without making it look yellow. Test paint swatches at different times of day; bathroom lighting can shift colors dramatically.
2. Refresh the vanity thoughtfully
If the cabinet is structurally sound, consider cleaning and replacing handles first. Painting a wood vanity requires proper surface preparation and a coating suitable for humid spaces. Keep attractive natural wood when it works with your overall palette.
3. Make the mirror a feature
Swap an overly ornate frame for a simpler wood or metal finish, or frame an existing plain mirror if it is safely installed. A mirror with a restrained profile can make the room feel calmer without erasing its era.
4. Improve the lighting
Warm, flattering light can make older tile and finishes feel intentional. Consider light quality, glare and placement around the mirror. Have a qualified electrician assess fixture changes and wet-location requirements.
5. Work with existing brass
Brass can be part of the appeal of a 90s bathroom. Rather than mixing many metallic finishes, repeat one or two finishes consistently in the mirror, hooks and accessories. If fixtures are corroded or failing, prioritize function over nostalgia.
6. Update soft furnishings first
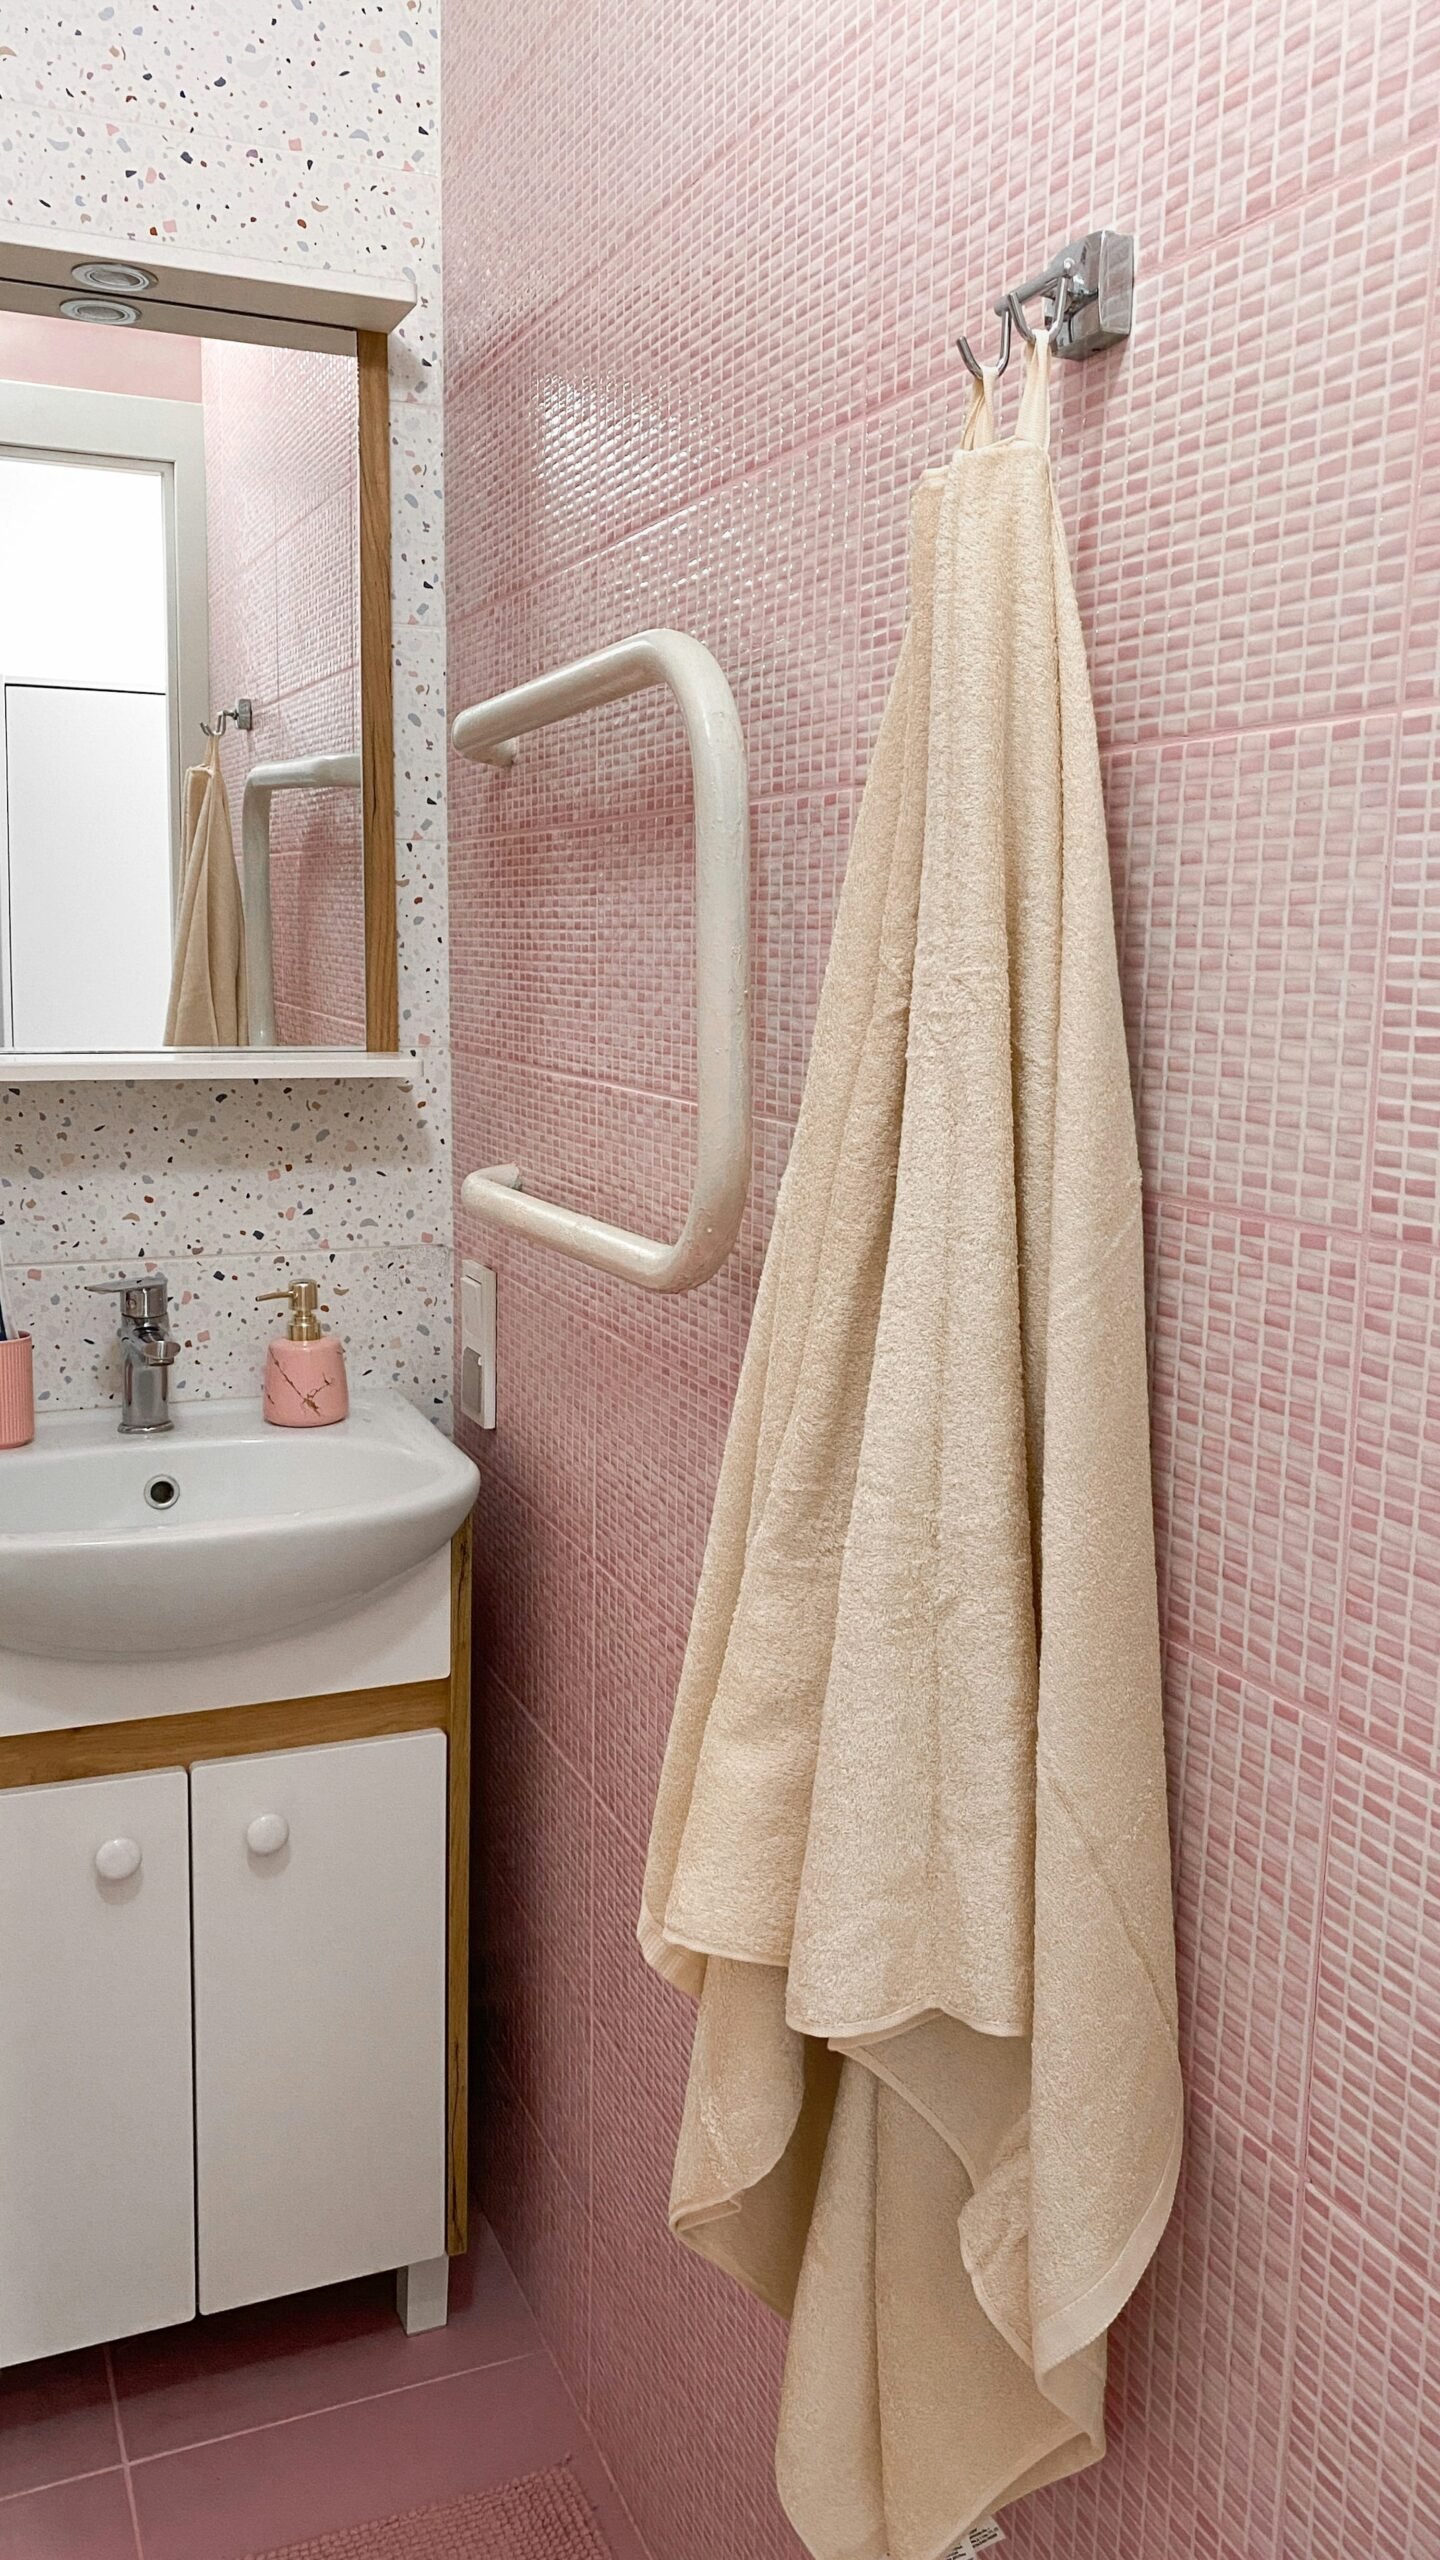
A shower curtain, bath mat and towels offer a low-commitment way to test a new scheme. Choose a limited palette and one pattern instead of several competing prints.
7. Keep tile that is in good condition
Clean grout and address damaged sealant before assuming that every surface needs replacement. Never paint over wet, loose or deteriorating tile to hide a problem. For older materials or uncertain substrates, seek specialist advice before disturbing them.
8. Add purposeful storage
Replace cluttered counters with a narrow shelf, covered containers or a cabinet organizer. In small bathrooms, visible floor area and clear pathways matter as much as the amount of storage.
9. Spend on the things you touch daily
Prioritize reliable taps, a comfortable shower, working ventilation and easy-to-clean surfaces. Decorative accessories are easier to change later than plumbing fixtures.
10. Finish with a nostalgic detail
A ribbed-glass shade, checkerboard textile or simple framed print can nod to the decade without turning the room into a themed set.
A simple makeover sequence
- Photograph the room and identify the finishes you will keep.
- Check for water damage and maintenance issues.
- Choose a cohesive palette and make a small sample board.
- Plan the work in order: repairs, paint, lighting, hardware and styling.
- Reassess the room before committing to major replacements.
Frequently asked questions
Can beige 90s bathroom tile look modern?
Yes. Beige can work with warm neutrals, wood, restrained black accents or muted greens. The overall contrast and lighting often matter more than the tile color alone.
Should I remove my 1990s oak vanity?
Not necessarily. If it is sturdy and the layout works, new hardware, a cleaner countertop arrangement or a careful finish update may be enough.
What is the most affordable first step?
Decluttering, deep cleaning, improving textiles and testing paint colors are usually more accessible starting points than replacing fixed finishes.
Editorial note: This is general design inspiration, not a substitute for inspection or professional plumbing, electrical or waterproofing advice.